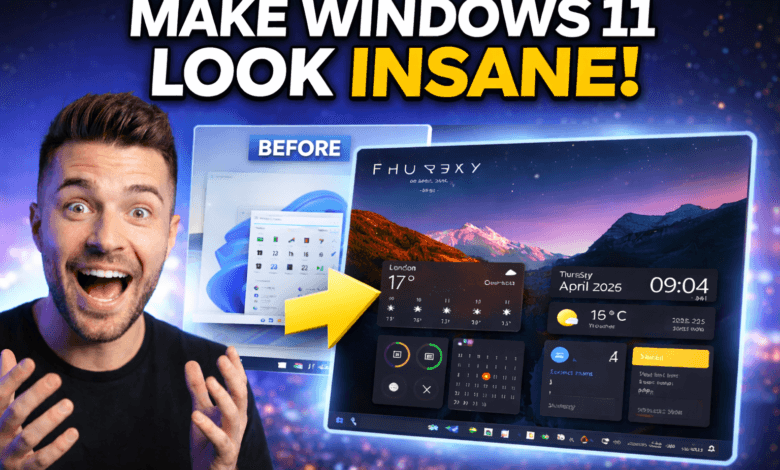
Are you tired of the same old, boring Windows 11 look? Watch closely, because by the end of this guide, your desktop is going to look absolutely unreal.
In this tutorial, we are going to completely transform your PC. We’ll add a beautiful custom taskbar, a translucent start menu, aesthetic desktop widgets, and top it all off with a stunning live wallpaper. The best part? Everything we are using is completely free, and it only takes a few minutes to set up.
If you prefer to follow along with a video, you can watch my full YouTube tutorial right here:
📥 What You Will Need (Download Links)
Before we start, let’s gather our tools. Here is everything we will use for this aesthetic Windows 11 setup:
- Rainmeter https://www.rainmeter.net/
- Windhawk: https://windhawk.net/
- Mond https://visualskins.com/skin/mond
- Monterey Rainmeter: https://github.com/creewick/MontereyR…
- Wallpaper: https://unsplash.com/photos/snow-capp…
Step 1: Prepare Your Desktop
First, we need a clean canvas. We are going to switch to dark mode and hide the desktop icons.
- Open your Start Menu and go to Settings.
- Navigate to Personalization > Colors and change your theme from Light to Dark. This makes the translucent themes pop!
- To hide the Recycle Bin, right-click anywhere on your empty desktop, hover over View, and uncheck Show desktop icons.
Step 2: Customize the Taskbar & Start Menu
To get that sleek, transparent look, we are going to use a free tool called Windhawk.
- Download and install Windhawk from the links above.
- Open the app and search for Windows 11 Taskbar Styler (If you don’t see it, go to the “Explore” tab and paste the name). Click Details and Installer to install it.
- Go to the mod’s Settings, scroll to Theme, and select Taskbar 12. Click Save Settings.
- Next, search for the Windows 11 Start Menu Styler and install it. In its settings, change the theme to Translucent start menu, check the box for Disable the new start menu layout, and hit save.
- Finally, search for the Windows 11 Notification Center Styler, install it, and change its theme to Translucent Shell.
Your menus should now have a beautiful, frosted glass effect!
Step 3: Set Your Background
I found an incredible wallpaper on Unsplash that fits this aesthetic perfectly.
- Download the image from the link above (make sure to choose “Original Size”).
- Open the image in the Windows Photos app.
- Click the Three Dots (…) at the top right, click Set as, and choose Background.
- Repeat the process, but this time select Lock Screen to match!
Step 4: Add Aesthetic Desktop Widgets
For the widgets, we are using a classic desktop customization tool called Rainmeter.
- Download and install Rainmeter. Once installed, some default widgets will appear on your screen. Right-click them and select Unload Skin.
- Download the M Rainmeter skin file from the link above, click on it, and hit Install.
- A few widgets will pop up. Right-click and unload everything except the Day/Clock widget.
- To make the widget black, click Text Color on the widget’s menu, slide the bar to the bottom so the RGB reads 0,0,0, and hit OK.
- Let’s make it bigger. Right-click the widget, select Edit Skin, and Notepad will open.
- Delete the lines for: Meter Date, Meter 12-hour clock, and Meter 24-hour clock. (Leave Meter Day alone).
- Scroll up to Scale and change the number to 1.60.
- Click File > Save, close Notepad, right-click the widget, and hit Refresh Skin. Place it at the top of your screen!
Step 5: Add Weather & Calendar Widgets
To finish the widgets, we will use the Monterrey Rainmeter pack.
- Download the Monterrey 1.0.0.2 file from GitHub and install it.
- From the Monterrey menu, select the Calendar, Weather, Notes, and Reminders widgets. (I recommend leaving the appearance on the default “Blur” setting).
- Position Notes and Reminders on the right side of your screen.
- Place the Weather and Calendar widgets on the bottom left.
- Pro Tip: Right-click the Weather widget, select Edit Weather, type your city (e.g., London), hit Enter, and save!
Step 6: The Bonus Live Wallpaper
Want to take it to the ultimate level? Let’s make it rain.
- Download Lively Wallpaper from the Microsoft Store or GitHub, and restart your PC.
- Open Lively and select the Rain live wallpaper.
- Click the Three Dots on the Rain wallpaper and select Customize.
- Choose the Unsplash image we downloaded earlier as the background. You can adjust the rain intensity, speed, and zoom from this menu!
Enjoy Your New Setup!
And just like that, your PC looks entirely brand new. You now have a customized taskbar, transparent menus, useful widgets, and a beautiful live wallpaper.
If this guide helped you out, be sure to drop a comment below letting me know what your favorite part of the setup is! Don’t forget to subscribe to my YouTube channel for more incredible Windows customization tutorials.